In today’s digital age, the demand for powerful software solutions is on the rise, especially in industries such as manufacturing and engineering. Mastercam X9, renowned for its advanced capabilities in computer-aided design and manufacturing (CAD/CAM), is a preferred choice for professionals. This article will guide you through the process of installing Mastercam X9 on a Windows 10 partition on your Mac, unlocking new possibilities for your design and machining endeavors.
Understanding the Benefits of Mastercam X9
Mastercam X9 is a comprehensive CAD/CAM software that empowers users to create intricate 3D models, generate toolpaths, and control CNC machines with precision. With its array of features, such as dynamic motion technology and multi-axis machining, Mastercam X9 streamlines the manufacturing process, enhances productivity, and delivers superior results. Whether you’re designing complex parts or optimizing machining operations, Mastercam X9 is a powerful tool to have at your disposal.
Preparing Your Mac for Windows 10 Installation
Before installing Mastercam X9 on a Windows 10 partition, you need to ensure your Mac is ready for the process. Begin by checking the system requirements for Windows 10 compatibility on your Mac model. Create a backup of all your important files and data to prevent any potential loss during the partitioning process. Next, make sure your Mac has sufficient disk space for the Windows 10 partition. Lastly, update your Mac’s operating system to the latest version and disable any unnecessary applications or background processes.
Creating a Windows 10 Partition on Your Mac
To install Mastercam X9 on your Mac, you’ll need to create a separate partition for the Windows 10 operating system. Mac provides built-in tools like Boot Camp Assistant that simplify this process. Launch Boot Camp Assistant and follow the on-screen instructions to partition your disk, allocate sufficient space for Windows 10, and create a bootable USB or DVD with the necessary Windows 10 installation files.
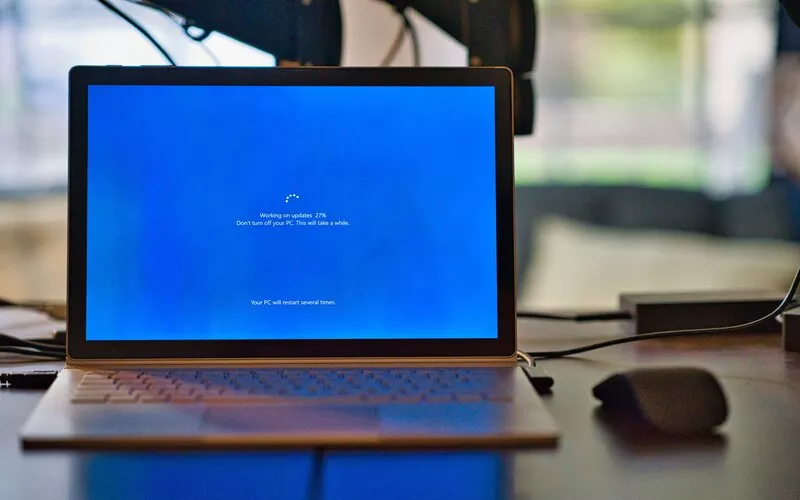
Installing Windows 10 on the Partition
Once you’ve successfully created the Windows 10 partition, restart your Mac and boot into the Windows installer by holding the Option (⌥) key during startup. Select the partition you created earlier and proceed with the Windows 10 installation. Follow the prompts, enter the required information, and wait for the installation to complete. Once Windows 10 is installed, ensure that all necessary drivers are installed and updated to guarantee compatibility with your Mac’s hardware.
Installing Mastercam X9 on Windows 10
Now that you have Windows 10 up and running on your Mac, it’s time to install Mastercam X9. Locate the Mastercam X9 installation files and run the setup. Follow the installation wizard’s instructions, select the desired installation options, and let the software install on your Windows 10 partition. Once the installation is complete, launch Mastercam X9 and enter your license information, if required. You’re now ready to explore the vast capabilities of Mastercam X9 on your Mac.
Conclusion
By following the steps outlined in this guide, you can harness the power of Mastercam X9 on your Mac, even with the Windows 10 operating system. Unlocking the potential of this robust CAD/CAM software will undoubtedly enhance your design and machining capabilities, empowering you to create remarkable projects with precision and efficiency.
Read More: google review riteway auto patchogue


[…] Read More: Installing Mastercam X9 on Windows 10 Partition on Mac […]
yandanxvurulmus.k3je7VGI6Ncc